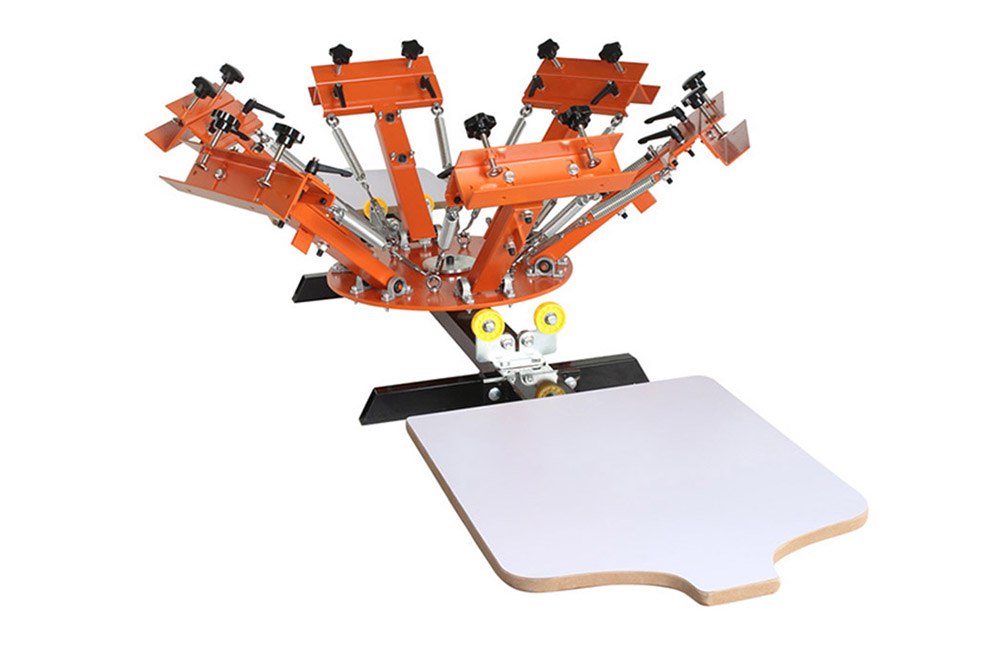
Step-by-Step Guide: Using a 4 Color 2 Station Screen Printing Machine
Setting up the 4 Color 2 Station Screen Printing Machine
Screen printing is a popular method used to transfer designs onto various surfaces, such as t-shirts, posters, and bags. One of the key components of screen printing is the screen printing machine, which helps to ensure accurate and consistent results. In this article, we will provide a step-by-step guide on how to set up and use a 4 color 2 station screen printing machine.
The first step in setting up a 4 color 2 station screen printing machine is to assemble the machine according to the manufacturer’s instructions. This typically involves attaching the base, arms, and screens to the machine. Make sure to tighten all screws and bolts securely to ensure stability during the printing process.
Once the machine is assembled, the next step is to prepare the screens for printing. Start by selecting the desired design and transferring it onto the screens using a photo emulsion process. Allow the screens to dry completely before attaching them to the machine.
After the screens are prepared, it’s time to set up the ink colors for printing. The 4 color 2 station screen printing machine allows for up to four different ink colors to be used simultaneously. Fill each color station with the desired ink color and adjust the ink flow settings as needed.

With the screens and ink colors in place, it’s time to align the screens on the machine. Use the micro-registration knobs on the machine to adjust the position of each screen until they are perfectly aligned. This step is crucial for ensuring that the design is printed accurately on the substrate.
Once the screens are aligned, it’s time to test the printing setup. Place a test substrate, such as a scrap piece of fabric or paper, onto the printing platen and lower the screens onto the substrate. Use a squeegee to apply pressure and pull the ink across the screens. Check the test print for any alignment issues or ink inconsistencies and make any necessary adjustments.
After the test print is successful, you are ready to start printing your designs. Place the substrate onto the printing platen, lower the screens onto the substrate, and apply pressure with the squeegee to transfer the ink onto the substrate. Lift the screens carefully to reveal the printed design.
Continue printing your designs on various substrates, making sure to clean the screens and squeegees between each print to prevent ink buildup and smudging. Once you have finished printing, clean the screens and machine thoroughly to ensure they are ready for future use.

In conclusion, setting up and using a 4 color 2 station screen printing machine requires careful preparation and attention to detail. By following the steps outlined in this guide, you can achieve professional-quality results with your screen printing projects. Experiment with different ink colors and designs to create unique and eye-catching prints that will impress your customers and clients.
Pre: How to Operate a Screen Printing Press for Precise Results
Next: Troubleshooting Common Issues with 4 Color Screen Printing Presses
Tags: