Step-by-Step Guide to Screen Printing on T-Shirts at Home
Choosing the Right Materials and Equipment
Screen printing is a popular method for creating custom designs on t-shirts at home. It allows for crisp, vibrant prints that can withstand multiple washes. If you’re interested in trying your hand at screen printing, it’s important to start with the right materials and equipment. In this article, we’ll walk you through the step-by-step process of screen printing on t-shirts at home.
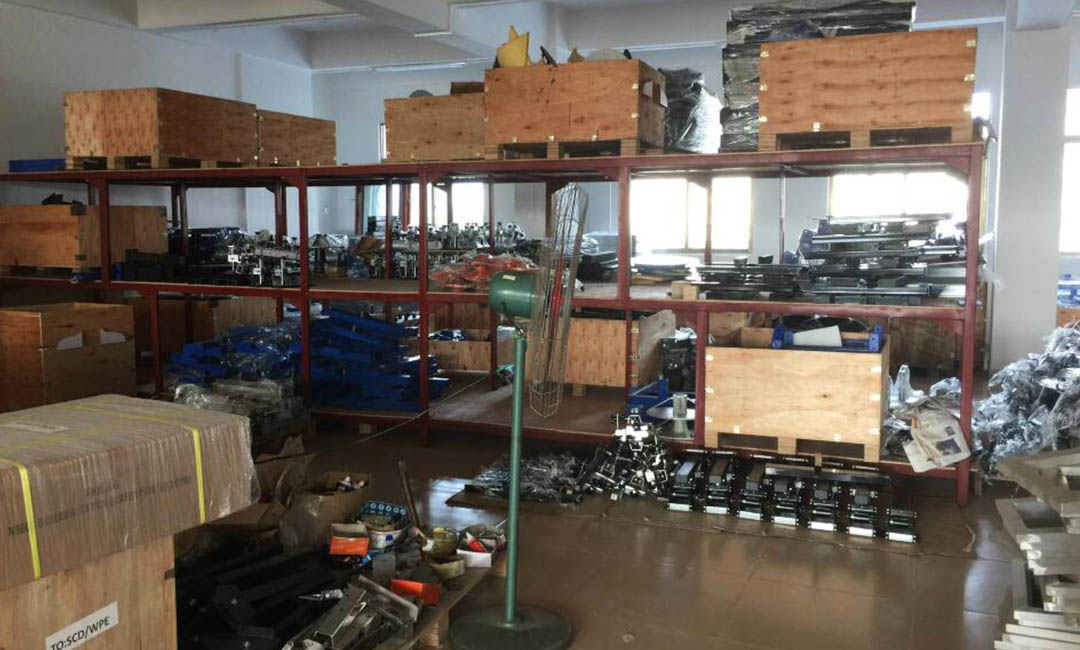
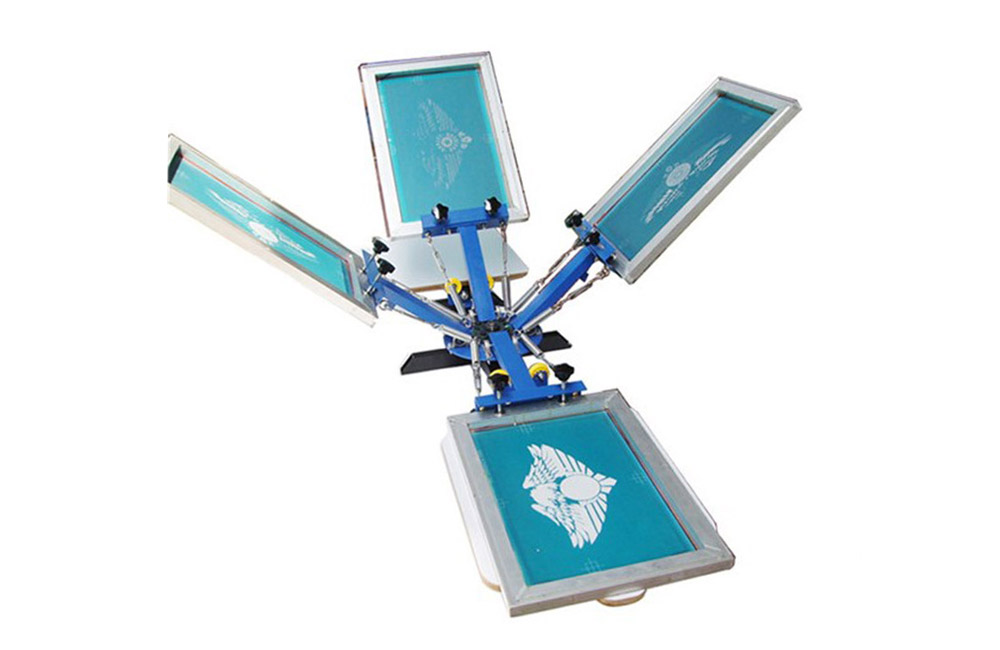
The first step in screen printing is to gather all the necessary materials and equipment. You’ll need a screen printing frame, a squeegee, screen printing ink, a design to print, and of course, t-shirts to print on. When choosing a screen printing frame, make sure it’s the right size for your design and that it’s made of a durable material like aluminum or wood. The squeegee should be the appropriate size for your frame and made of a material that won’t warp or bend easily.
Next, you’ll need to choose the right screen printing ink for your project. There are many different types of ink available, so be sure to choose one that is compatible with the fabric of your t-shirts. Water-based inks are a popular choice for beginners because they’re easy to work with and clean up. However, if you’re looking for a more durable print, consider using plastisol ink.
Once you have all your materials and equipment ready, it’s time to prepare your design for printing. Start by creating a stencil of your design on a piece of film or paper. This stencil will be used to block out areas of the screen where you don’t want ink to pass through. Make sure your stencil is the right size for your screen printing frame and that it’s securely attached to the frame.
After preparing your design, it’s time to set up your screen printing frame. Place the frame on a flat surface and lay your t-shirt underneath it. Make sure the t-shirt is stretched out flat and that there are no wrinkles or creases. Once your t-shirt is in place, pour a small amount of ink onto the screen and use the squeegee to spread it evenly across the stencil.
With the ink in place, carefully lift the screen printing frame off the t-shirt to reveal your design. Allow the ink to dry completely before washing or wearing the t-shirt. If you’re printing multiple t-shirts, be sure to clean the screen and squeegee between prints to prevent any ink from drying and clogging the screen.
In conclusion, screen printing on t-shirts at home can be a fun and rewarding project. By choosing the right materials and equipment, preparing your design properly, and following the step-by-step process outlined in this article, you can create professional-looking prints that will last for years to come. So gather your supplies, pick out a design, and start screen printing your own custom t-shirts today!
Pre: How to Maintain Your T-Shirt Screen Printing Machine for Long-Term Use
Next: How to Start a Printing Business with a Small Screen Printing Machine
Tags: