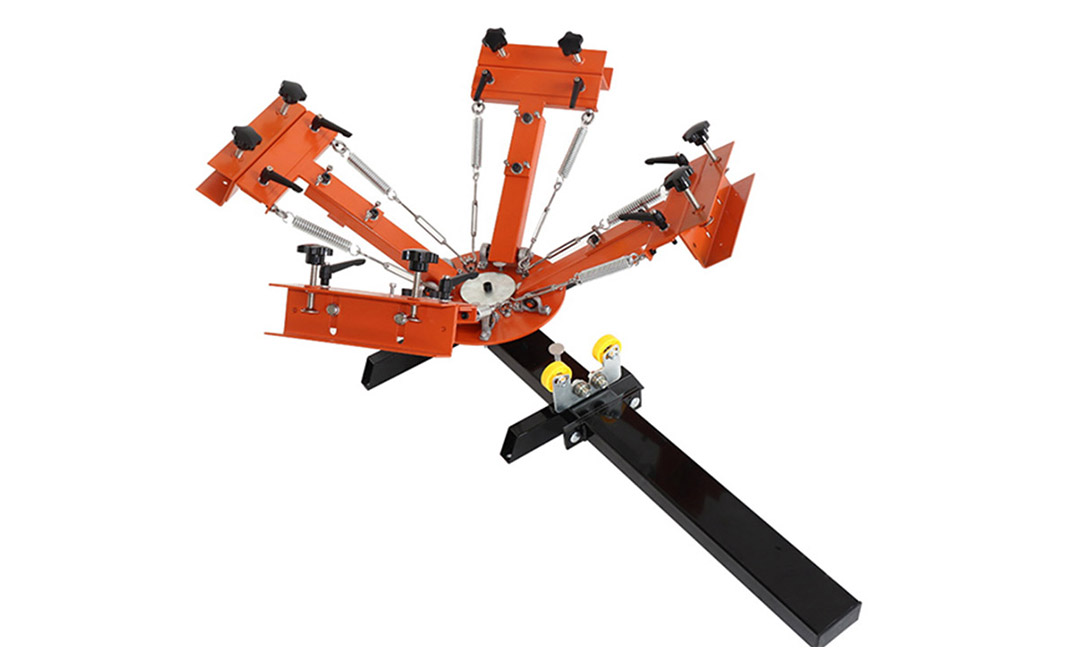
Step-by-Step Guide to Operating a 4 Color 1 Station Screen Printing Press
Setting up the Screen Printing Press
Screen printing is a popular method of printing designs onto various surfaces, such as t-shirts, posters, and bags. If you are looking to start a screen printing business or simply want to try your hand at this craft, operating a 4 color 1 station screen printing press is a great place to start. This type of press allows you to print multi-color designs with ease, making it a versatile tool for any screen printing project.
Setting up a 4 color 1 station screen printing press may seem daunting at first, but with the right guidance, you can quickly get the hang of it. The first step in operating this press is to ensure that you have all the necessary equipment and supplies on hand. This includes the press itself, screens, squeegees, ink, and the items you will be printing on.
Once you have gathered all your supplies, the next step is to set up the press. Start by assembling the press according to the manufacturer’s instructions. Make sure that all the components are securely in place and that the press is stable. Next, attach the screens to the press using the appropriate clamps or brackets. Make sure that the screens are taut and evenly stretched to ensure a clean print.

After the screens are in place, it’s time to set up the ink. Place the ink colors you will be using in the designated slots on the press. Make sure that the ink is well mixed and at the right consistency for printing. You may need to add a little bit of thinner or retarder to achieve the desired consistency.
Once the press is set up and the ink is ready, it’s time to prepare the design for printing. Create or obtain the design you want to print and transfer it onto the screens using a photo emulsion process. Make sure that the design is properly aligned on each screen to ensure that the colors line up correctly when printing.
With the screens prepared, it’s time to start printing. Load the item you will be printing on onto the press and adjust the screen and item so that they are aligned correctly. Apply the ink to the screen using a squeegee, making sure to evenly coat the design. Lift the screen to reveal the printed design on the item.
Repeat this process for each color in your design, making sure to clean the screens and squeegees between colors to prevent mixing. Once all the colors have been printed, carefully remove the item from the press and allow the ink to dry completely before handling or washing.

Operating a 4 color 1 station screen printing press may take some practice, but with patience and attention to detail, you can achieve professional-looking results. By following this step-by-step guide, you can confidently operate your press and create stunning multi-color designs for all your screen printing projects.
Pre: Top Applications for a 4 Color 1 Station Press in Screen Printing
Next: How to Print High-Quality Designs with a 4 Color 1 Station Silk Screen Printing Machine
Tags: