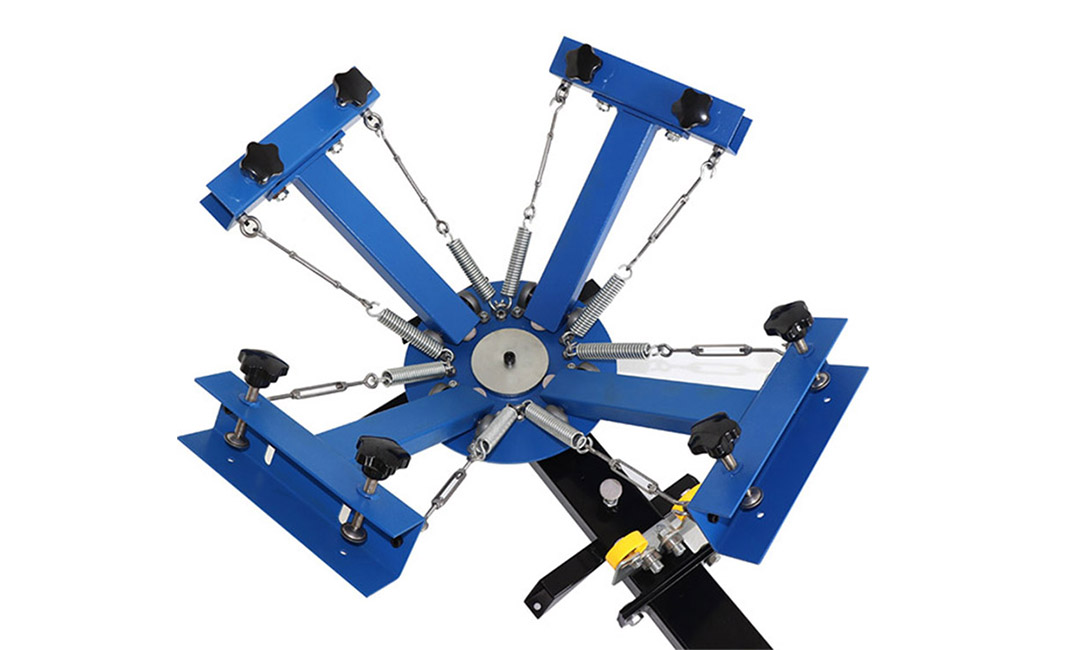
Step-by-Step Guide to Micro Registration in 4 Color 1 Station Press
Setting up the press
Micro registration is a crucial step in achieving precise and accurate prints in screen printing. It allows for fine adjustments to be made to the placement of each color layer, ensuring that the final print is crisp and aligned perfectly. In this article, we will provide a step-by-step guide to setting up micro registration in a 4 color 1 station press.

The first step in setting up micro registration is to ensure that your press is properly assembled and in good working condition. Check that all the components are securely in place and that the press is level and stable. This will provide a solid foundation for the micro registration adjustments to be made.
Next, you will need to attach the micro registration system to your press. This system typically consists of adjustable knobs or screws that allow for precise movements in both the horizontal and vertical directions. Attach the system to the press according to the manufacturer’s instructions, making sure that it is securely fastened and aligned properly.
Once the micro registration system is in place, you can begin the process of aligning the color layers. Start by placing your screen with the first color layer onto the press and securing it in place. Use a registration mark or other reference point on the screen to align it with the corresponding mark on the press bed.

With the first color layer aligned, you can move on to the second color layer. Place the screen with the second color layer onto the press, making sure that it is properly registered with the first color layer. Use the micro registration knobs or screws to make any necessary adjustments to the placement of the screen until it is perfectly aligned.
Repeat this process for the remaining color layers, making sure that each layer is aligned with the previous one. Use the micro registration system to fine-tune the placement of each screen, ensuring that all the colors are perfectly registered with each other.
Once all the color layers are aligned, you can begin the printing process. Load your ink onto the screens and test print onto a piece of scrap fabric or paper. Check the registration of the colors and make any final adjustments using the micro registration system if necessary.
With the colors aligned and the registration perfected, you are now ready to start printing your final designs. Take your time and pay close attention to the details, making sure that each color layer is printed accurately and in the correct position.
In conclusion, setting up micro registration in a 4 color 1 station press requires careful attention to detail and precision. By following the steps outlined in this guide, you can achieve perfect registration and produce high-quality prints every time. Remember to take your time and make small adjustments as needed to ensure that your prints are flawless.
Pre: DIY Screen Printing Projects with a 4 Colour 1 Station Setup
Next: Key Features of Riley Hopkins 150 1 Color 1 Station Press Explained
Tags: