Setting Up a Screen Printing Machine 4 Colour 1 Station at Home
Choosing the Right Screen Printing Machine for Home Use
Screen printing is a popular method of printing designs onto various surfaces, such as t-shirts, posters, and bags. It allows for high-quality, durable prints that can withstand multiple washes and wear. Setting up a screen printing machine at home can be a great way to unleash your creativity and start your own small business. In this article, we will discuss how to set up a 4 colour 1 station screen printing machine at home.

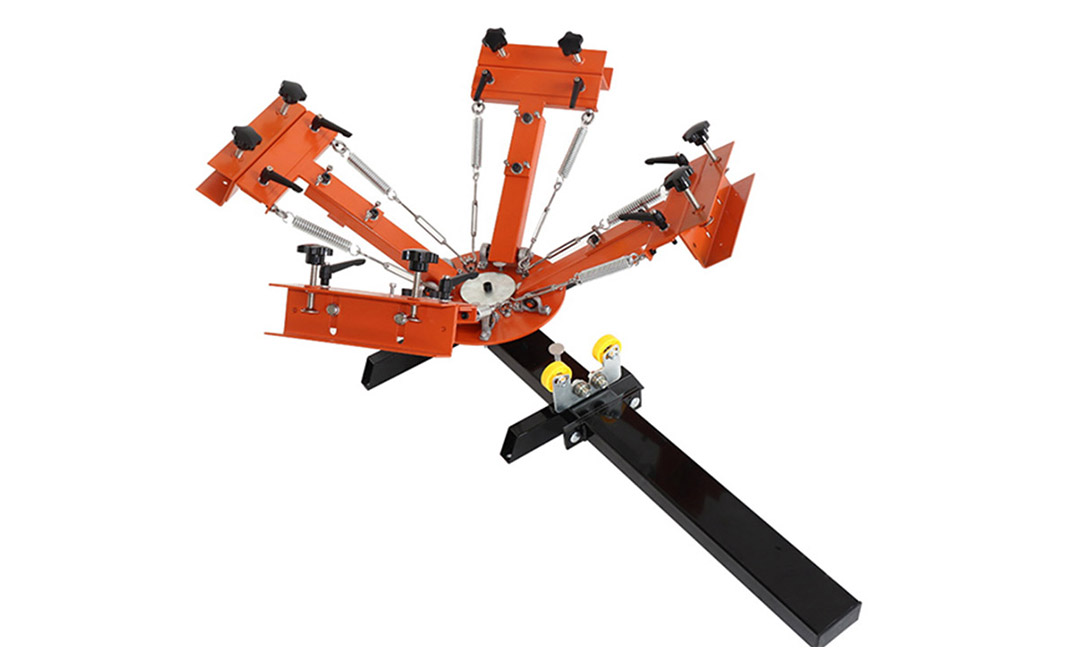
The first step in setting up a screen printing machine at home is choosing the right machine for your needs. There are many different types of screen printing machines available on the market, ranging from small, manual machines to large, automatic machines. For home use, a 4 colour 1 station machine is a good choice as it allows for multiple colours to be printed at once while still being compact enough to fit in a home studio.
When choosing a screen printing machine, it is important to consider the size of the machine, the number of colours it can print, and the type of surfaces it can print on. A 4 colour 1 station machine is a good choice for beginners as it is easy to use and can produce high-quality prints. It is also important to consider the cost of the machine and any additional equipment that may be needed, such as screens, inks, and squeegees.
Once you have chosen a screen printing machine, the next step is to set it up in your home studio. Start by finding a suitable location for the machine, such as a sturdy table or workbench. Make sure the area is well-ventilated and has access to water for cleaning the screens and tools.

Next, assemble the machine according to the manufacturer’s instructions. This may involve attaching the base, arms, and screens to the machine. Make sure all the parts are securely fastened and that the machine is level and stable.
After assembling the machine, you will need to prepare the screens for printing. Start by coating the screens with emulsion and allowing them to dry in a dark room. Once the screens are dry, you can burn your designs onto them using a light table or exposure unit.
Once the screens are ready, you can start printing. Place the screen on the machine and secure it in place using the clamps. Load the ink onto the screen and use a squeegee to pull the ink across the design, transferring it onto the surface below.
After printing, clean the screens and tools thoroughly to prevent the ink from drying and clogging the screens. Store the screens in a dark room to prevent them from being exposed to light and becoming unusable.
In conclusion, setting up a 4 colour 1 station screen printing machine at home can be a fun and rewarding experience. By choosing the right machine, assembling it properly, and preparing the screens correctly, you can create high-quality prints that will impress your friends and customers. With practice and dedication, you can turn your home studio into a thriving screen printing business.
Pre: Best Applications for a 4 in 1 Screen Printing Machine Setup
Next: Why Choose a 4 Color 1 Station Silk Screen Printing Machine for Your Shop?
Tags: