How to Start Printing with an All-in-One Screen Printing Kit
Choosing the Right All-in-One Screen Printing Kit
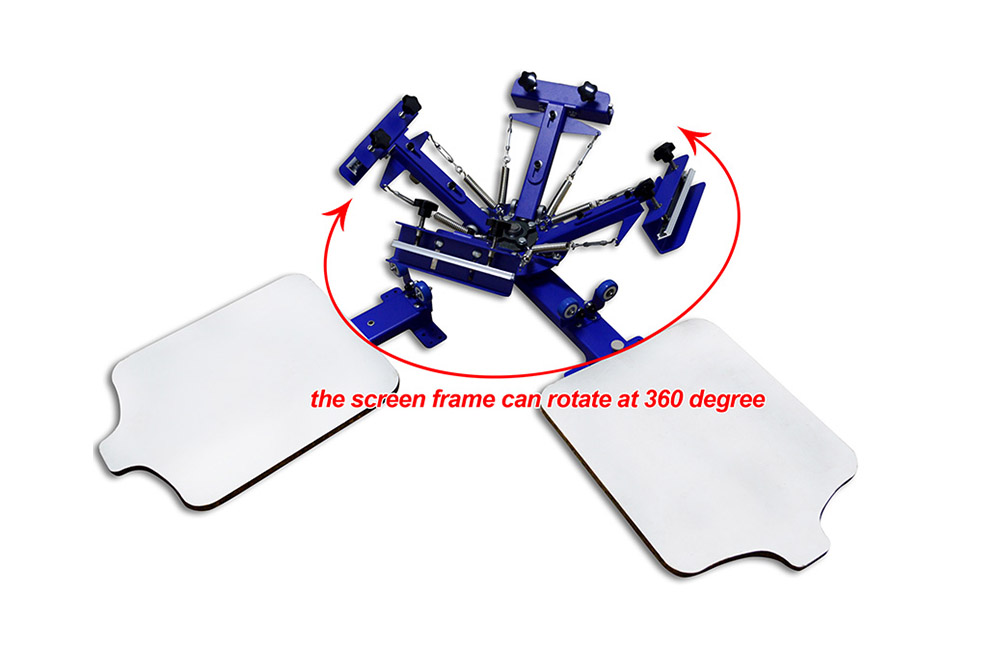
Screen printing is a popular method of printing that allows you to create high-quality prints on a variety of surfaces. If you’re interested in getting started with screen printing, an all-in-one screen printing kit is a great option. These kits come with everything you need to get started, including screens, inks, squeegees, and more. However, with so many options available, it can be overwhelming to choose the right kit for your needs.
When choosing an all-in-one screen printing kit, there are a few key factors to consider. First, think about the size of the kit. Some kits are designed for small-scale projects, while others are better suited for larger prints. Consider the size of the prints you want to create and choose a kit that can accommodate your needs.
Another important factor to consider is the type of ink included in the kit. Water-based inks are a popular choice for beginners, as they are easy to work with and clean up. However, if you’re looking for more vibrant colors and longer-lasting prints, you may want to consider a kit that includes plastisol inks.
Additionally, consider the quality of the screens included in the kit. Screens are a crucial component of screen printing, as they hold the stencil that creates the design on your print. Look for screens that are durable and easy to clean, as this will ensure that you can use them for multiple projects.

Once you’ve chosen the right all-in-one screen printing kit for your needs, it’s time to get started with the printing process. The first step is to prepare your design. This can be done digitally or by hand, depending on your preference. Once you have your design ready, you’ll need to transfer it onto the screen using a photo emulsion process.
Next, you’ll need to set up your printing area. Make sure you have a clean, flat surface to work on, and set up your screen and print surface securely. Place your screen on top of the print surface, making sure it is centered and secure.
Now it’s time to apply the ink. Using a squeegee, spread a thin layer of ink across the screen, making sure to cover the entire design. Then, using firm pressure, pull the squeegee across the screen to transfer the ink onto the print surface. Repeat this process for each color in your design, making sure to clean the screen between colors.
Once you’ve finished printing, carefully lift the screen off the print surface to reveal your design. Allow the ink to dry completely before handling or washing the print. If you’re using water-based inks, you can simply wash the print in cold water to set the ink. If you’re using plastisol inks, you’ll need to cure the print using a heat source, such as a heat press or oven.

With a little practice and patience, you can create professional-quality prints using an all-in-one screen printing kit. Experiment with different designs, colors, and techniques to create unique prints that showcase your creativity. Whether you’re printing t-shirts, posters, or other items, screen printing is a versatile and rewarding hobby that allows you to bring your designs to life.
Pre: Screen Printing Kits: Everything You Need to Get Started
Next: 5 Mistakes to Avoid with Beginner Screen Printing Machines
Tags: