How to Set Up and Use a 4 Color Silk Screen Printing Machine
Choosing the Right Silk Screen Printing Machine
Silk screen printing is a popular method for creating high-quality prints on various surfaces, such as fabric, paper, and plastic. One of the key components of silk screen printing is the silk screen printing machine. These machines come in various sizes and configurations, but one of the most common types is the 4 color silk screen printing machine. In this article, we will discuss how to set up and use a 4 color silk screen printing machine.
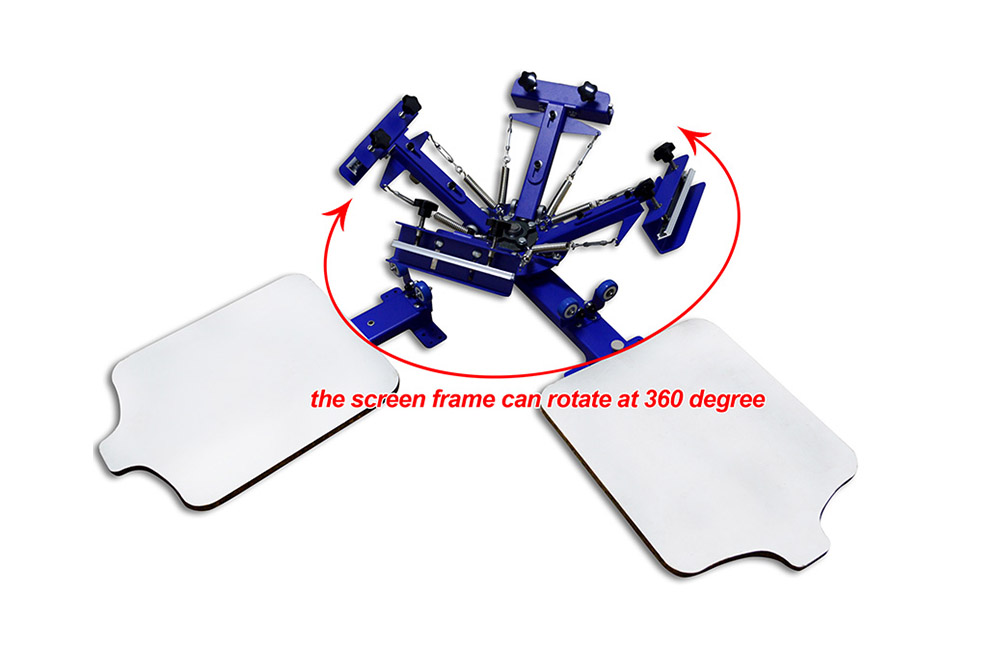
When choosing a silk screen printing machine, it is important to consider the size of the machine, the number of colors it can accommodate, and the type of printing you will be doing. A 4 color silk screen printing machine is ideal for printing designs that require multiple colors. These machines typically have four separate screens, each with a different color of ink. This allows you to create vibrant and detailed prints with ease.
Once you have chosen a 4 color silk screen printing machine, the next step is to set it up for use. Start by assembling the machine according to the manufacturer’s instructions. This may involve attaching the screens, squeegees, and ink reservoirs to the machine. Make sure that all components are securely fastened and in proper working order before proceeding.
Next, prepare your design for printing. This may involve creating a stencil or screen for each color in your design. Attach the stencils to the screens using a strong adhesive or tape. Make sure that the stencils are aligned properly and securely attached to the screens.
Once your screens are prepared, it is time to set up the ink reservoirs. Fill each reservoir with the appropriate color of ink, making sure not to overfill. Place the reservoirs in their designated slots on the machine, ensuring that they are securely in place.
Now that your machine is set up and ready to go, it is time to start printing. Place the material you wish to print on the printing bed of the machine. Position the screens over the material, making sure that they are aligned properly. Lower the screens onto the material, applying even pressure to ensure a clean and crisp print.
Using a squeegee, spread the ink evenly over the screen, making sure to cover the entire design. Apply firm and consistent pressure to ensure that the ink is transferred to the material. Lift the screens carefully to reveal your printed design.
Repeat this process for each color in your design, making sure to clean the screens and squeegees between colors. Once all colors have been printed, allow the material to dry completely before handling or washing.
In conclusion, setting up and using a 4 color silk screen printing machine is a straightforward process that can yield professional-quality results. By choosing the right machine, preparing your design properly, and following the steps outlined in this article, you can create vibrant and detailed prints with ease. Whether you are a seasoned professional or a beginner, silk screen printing is a versatile and rewarding method for creating custom prints on a variety of surfaces.
Pre: How to Start a Printing Business with a Small Screen Printing Machine
Next: Setting Up a 2 Station Silk Screen Printing Press: What You Need to Know
Tags: