How to Operate a 4 Color 1 Station Screen Printing Machine Like a Pro
Proper Setup and Calibration
Screen printing is a popular method of transferring designs onto various surfaces, such as t-shirts, posters, and bags. To achieve high-quality prints, it is essential to properly set up and calibrate your screen printing machine. In this article, we will discuss how to operate a 4 color 1 station screen printing machine like a pro by focusing on proper setup and calibration.
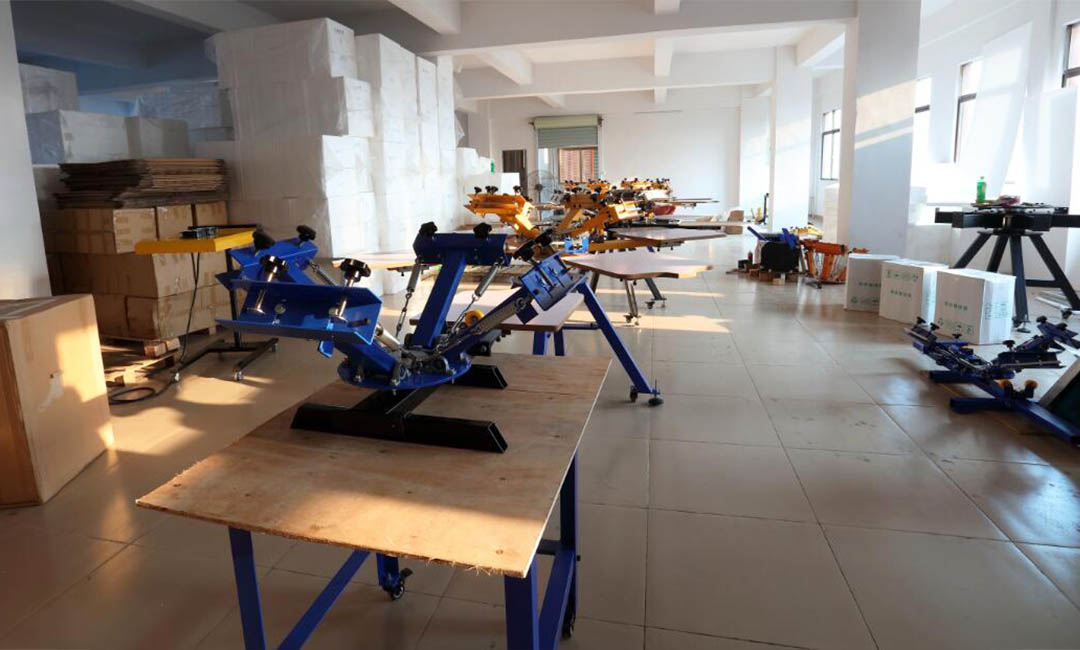
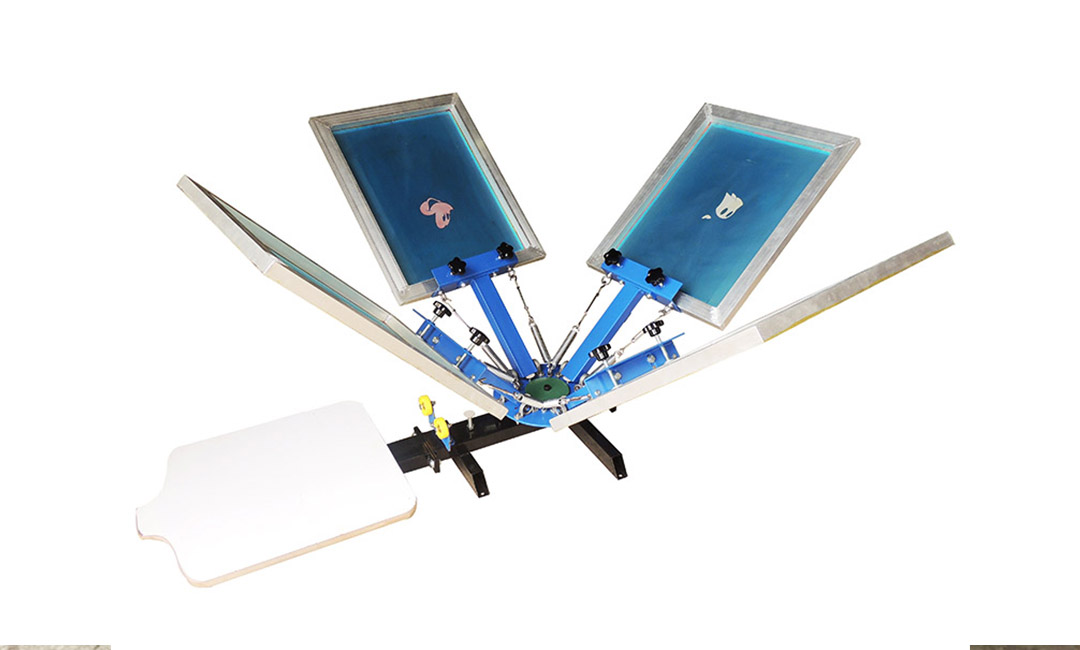
First and foremost, it is crucial to ensure that your screen printing machine is assembled correctly. Start by setting up the base of the machine on a stable surface, making sure it is level and secure. Next, attach the arms and brackets that hold the screens in place, making sure they are tightened properly to prevent any movement during printing. Additionally, make sure the platen (the flat surface where the item to be printed is placed) is securely attached and level.

Once your machine is assembled, it is time to calibrate the screens. Start by placing the screens onto the brackets, making sure they are aligned properly with the platen. Use a ruler or measuring tape to ensure that the screens are centered and at the correct distance from each other. This step is crucial for achieving accurate and consistent prints across all colors.
After the screens are properly aligned, it is time to calibrate the off-contact distance. Off-contact refers to the distance between the screen and the platen when the screen is raised. This distance is important for achieving clean and crisp prints. To calibrate the off-contact distance, adjust the height of the screen using the knobs or levers on the machine until there is a slight gap between the screen and the platen. This gap should be around 1/16 to 1/8 of an inch for optimal results.
Once the off-contact distance is set, it is important to check the tension of the screens. Proper screen tension is essential for achieving sharp and detailed prints. To check the tension, gently tap the screen with your finger. The screen should have a slight bounce to it, indicating that it is taut and properly tensioned. If the screen feels loose or saggy, it may need to be re-tensioned using a screen tension meter.
In addition to screen tension, it is important to check the registration of the screens. Registration refers to the alignment of the different colors on the print. To check registration, print a test design using all colors and inspect the print for any misalignment or overlap. If the colors are not aligned properly, adjust the registration knobs on the machine until the prints are perfectly aligned.

In conclusion, proper setup and calibration are essential for operating a 4 color 1 station screen printing machine like a pro. By following these steps and paying attention to detail, you can achieve high-quality prints with crisp details and vibrant colors. Remember to take your time during setup and calibration, as precision is key to achieving professional results. With practice and attention to detail, you can master the art of screen printing and create stunning prints that will impress your customers.
Pre: Key Differences Between Riley Hopkins 150 4 Color 1 Station and Other Presses
Next: How to Achieve Professional Results with Screen Printing 4 Color 1 Station
Tags: