How to Get Consistent Prints with a 2 Station Screen Printing Press
Proper Screen Alignment
Screen printing is a popular method for creating high-quality prints on various surfaces, such as fabric, paper, and plastic. To achieve consistent prints, it is crucial to have proper screen alignment on a 2 station screen printing press. This article will guide you through the steps to ensure accurate screen alignment and achieve consistent results.

The first step in achieving proper screen alignment is to prepare the screens. Start by cleaning the screens thoroughly to remove any dust, dirt, or ink residue. This will ensure that the screens are free from any obstructions that could affect the alignment process. Once the screens are clean, inspect them for any damages or imperfections that may hinder the alignment. If any issues are found, it is essential to address them before proceeding.

Next, you need to set up the registration marks on the screens. Registration marks are reference points that help align the screens accurately. To create registration marks, use a ruler or a T-square to draw two perpendicular lines on each screen. These lines should intersect at the center of the screen. It is crucial to ensure that the registration marks are consistent and identical on all screens to achieve proper alignment.
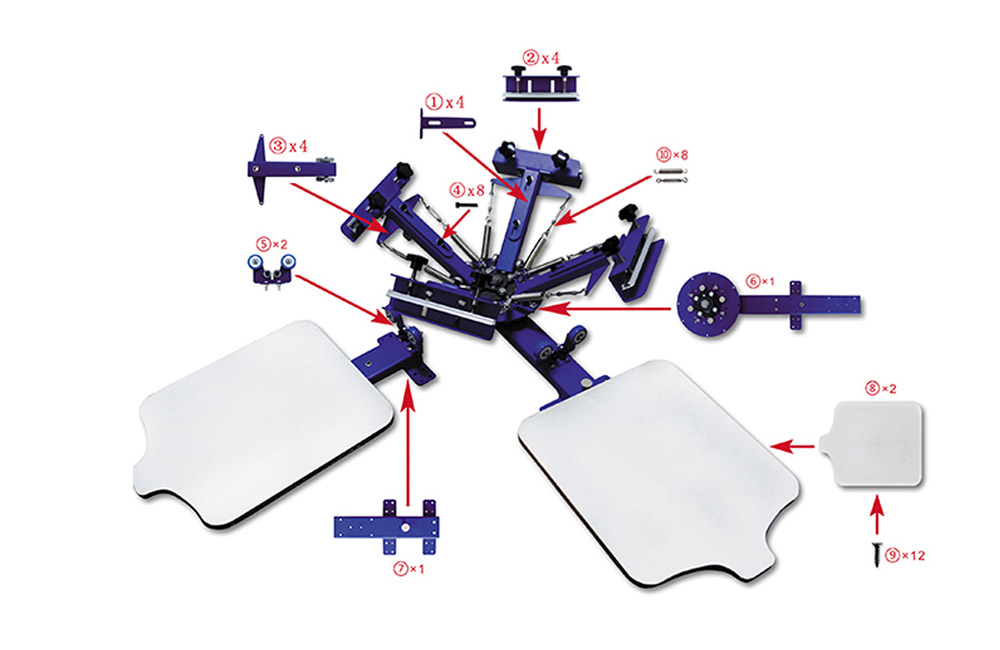
After setting up the registration marks, it is time to position the screens on the press. Start by placing the first screen on the press, aligning it with the registration marks. Use clamps or adhesive tape to secure the screen in place. Once the first screen is in position, repeat the process for the second screen, ensuring that it aligns perfectly with the registration marks.
Once both screens are secured on the press, it is time to check the alignment. To do this, you will need a test print. Prepare a test image or design and load it onto the press. Lower the screens onto the substrate, making sure that they are aligned correctly. Apply pressure to transfer the ink onto the substrate and lift the screens. Examine the test print for any misalignment or inconsistencies.
If the test print reveals misalignment, adjustments are necessary. Start by identifying the direction and magnitude of the misalignment. This will help you determine which adjustments to make. Common adjustments include loosening or tightening the clamps, repositioning the screens, or adjusting the off-contact distance. It may take several test prints and adjustments to achieve perfect alignment, so be patient and persistent.
Once you have achieved proper screen alignment, it is essential to maintain it throughout the printing process. Regularly check the alignment during printing sessions and make necessary adjustments if needed. Additionally, ensure that the screens are cleaned and inspected before each printing session to prevent any issues that may affect alignment.
In conclusion, proper screen alignment is crucial for achieving consistent prints with a 2 station screen printing press. By following the steps outlined in this article, you can ensure accurate alignment and produce high-quality prints. Remember to prepare the screens, set up registration marks, position the screens correctly, and make necessary adjustments. With practice and attention to detail, you can master screen alignment and achieve consistent results in your screen printing projects.
Pre: How to Choose the Right Screen Printing Ink for Your Press
Next: The Best T-Shirt Printing Machines for Custom Branding
Tags: